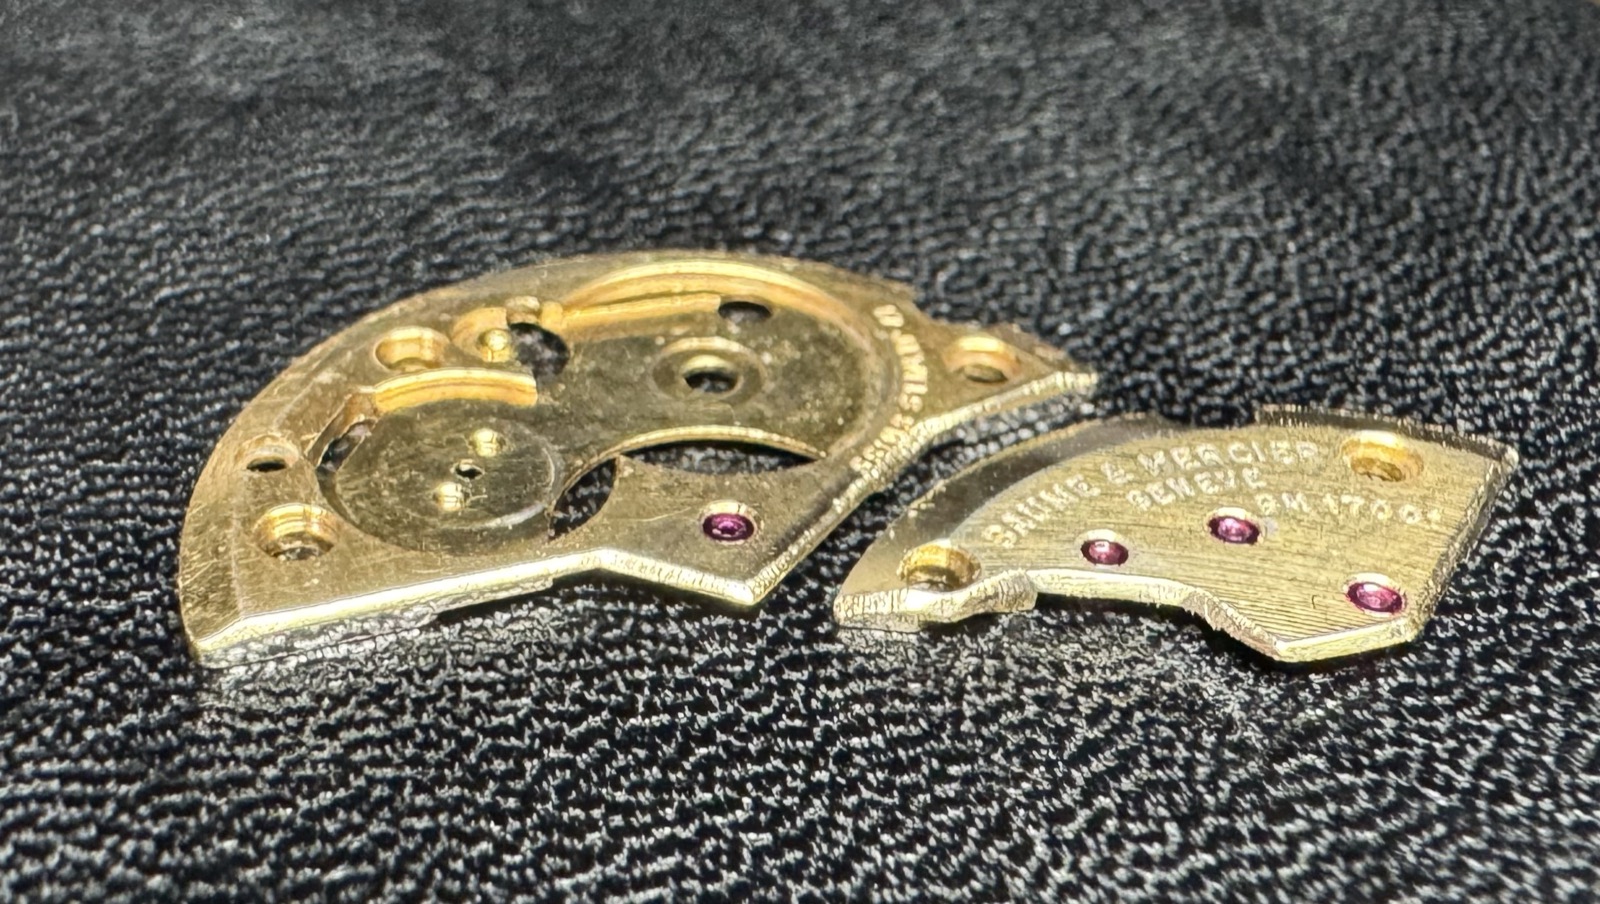
Hand-bevelled edges and fine surface finishing are what you see in the world of haute horlogerie. As a collector of so-called haute horlogerie, I couldn't resist trying it out myself.
Why I'm doing this
I believe a great watch isn't only great on the outside. It takes serious notice of the smallest details: every corner, every jewel, right down to the finest edges. During the design stage of R. Aevum N° 01, I got the inspiration to try these finishing methods myself, starting on donor parts before I ever touch the movement that goes into the watch.
The movements
I got some donor movements from a personal mentor of mine, Mr. Song, a master watchmaker with over 60 years of experience. He gave me the parts in the spirit of refinishing them and practising finishing methods, and that is how my finishing journey got started.
The first movement I practised on was the Unitas 6498. Ah, the 6498: a classic movement, and where every watchmaker and student, including myself, begins. I believe going back to where I started, with a movement I understand well, was the best way to practise.
The other movement is the Peseux 7001, or the ETA 7001 as some know it. It's a small, thin manual-wind calibre: 23.3 mm across, only 2.5 mm thick, 17 jewels, beating at 21,600 vph. That slim profile made it a favourite for dress watches, and you'll find it signed by houses like Chopard, Baume & Mercier and Hamilton. It's also the movement I chose for R. Aevum N° 01. I was able to get two sets of bridges: one as a clean, untouched reference, and the other as a donor to work on.
6498: first bevels
Bevelling, or anglage, means cutting the sharp edge of a bridge down to a small angled face, usually 45 degrees, and then polishing that face to a mirror. It started as a practical step to clean up burrs from machining. Today it's mostly about the light: a polished bevel catches it as a thin bright line that traces the outline of every bridge. High-end houses do this by hand, and the inside corners, where no machine can reach, are where you can tell real hand finishing apart.
I used a flat jeweller's file to shape the bridge edges to a 45-degree bevel. After that, I polished the edges with pegwood and diamond paste, working down through 30, 15, 10, 5 and 3 micron. A quick disclaimer: the rhodium plating is worn off in places, since I sanded down the bridges before bevelling them.
To hold the work, I used Bergeon Rodico together with my own hands for the larger plates, and a pin vice for small pieces wherever it had a point to grab on to. I worked under a 5x loupe and switched to 15x to inspect the edges in detail. Filing the edges took about an hour, and hand polishing the bevels through the diamond pastes took another two to three hours.
I managed a semi-clean 45-degree bevel on the straight lines of the 6498 bridges. However, as it was my first time, the joined edges were a hard lesson. Looking back, I think most of the edges that didn't come out clean were down to poor workholding: the piece moved, and the bevel moved with it. Next time I plan to mount the parts in shellac to hold them more securely. I need more practice, and I believe it will look more presentable after some trial and error with the polishing angle, the filing angle and so on.
Unitas 6498: first bevels on the barrel bridge.
7001: bevelling the stock bridges
After a satisfying first try on the 6498, I decided to bevel the edges on my Baume & Mercier 7001 as well. This is the same calibre I intend to use in my R. Aevum prototype. The results are quite rough, but I learned some meaningful lessons along the way: how to hold the pegwood at the right angle, how to file small joined edges, and the ultimate lessons, "go slow" and "verify every step".
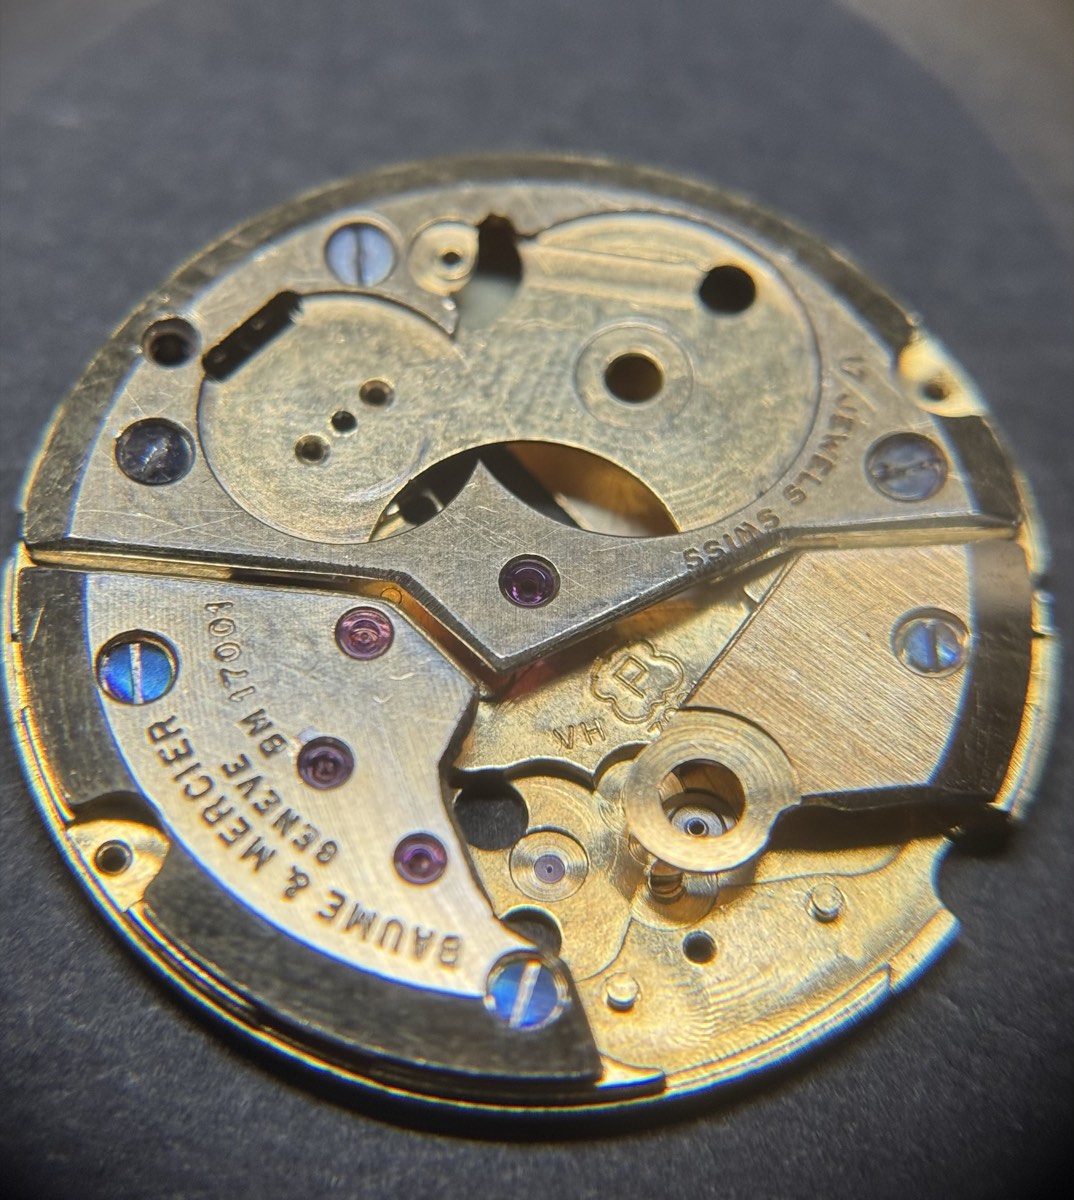
As you can see, I made the mistake of cutting too far into some angles, almost eating through the "SWISS" engraving. Every mistake taught me something.
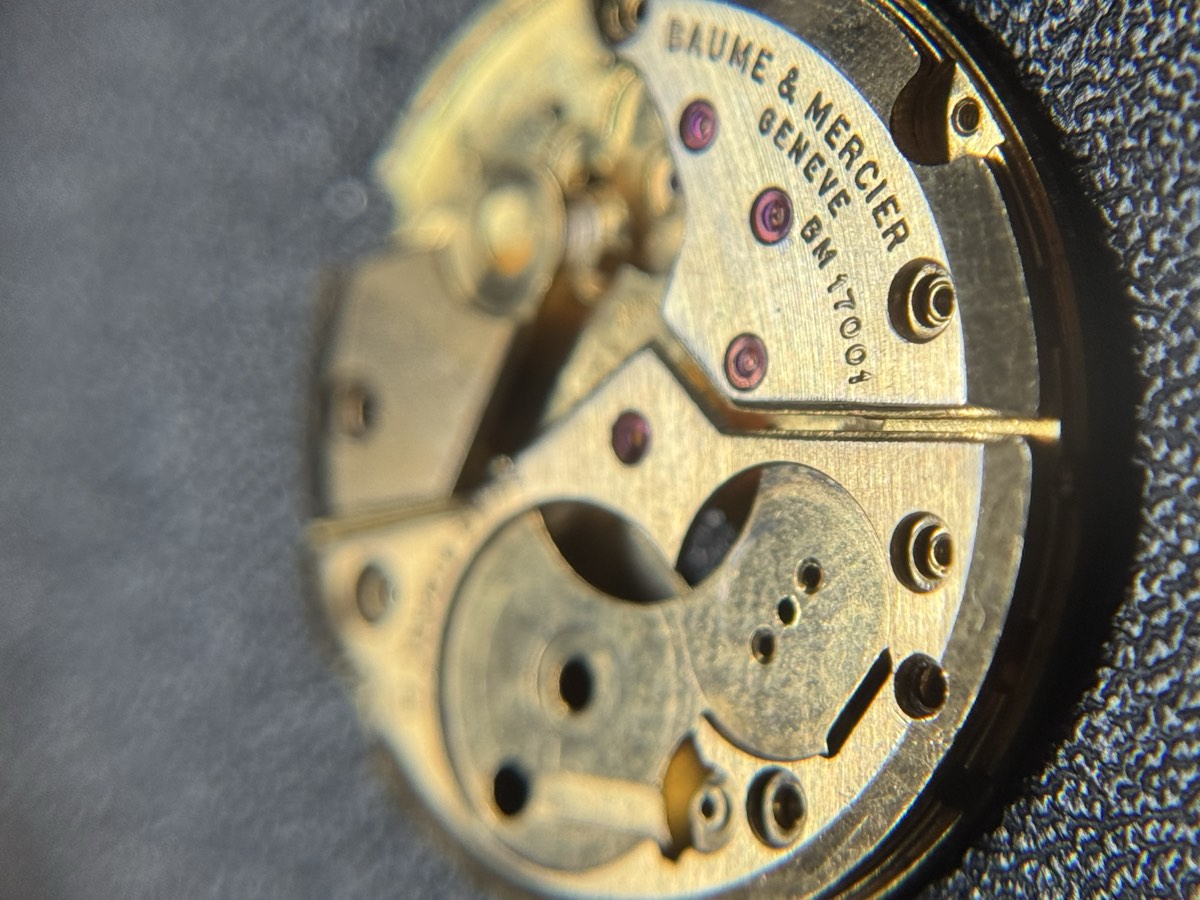
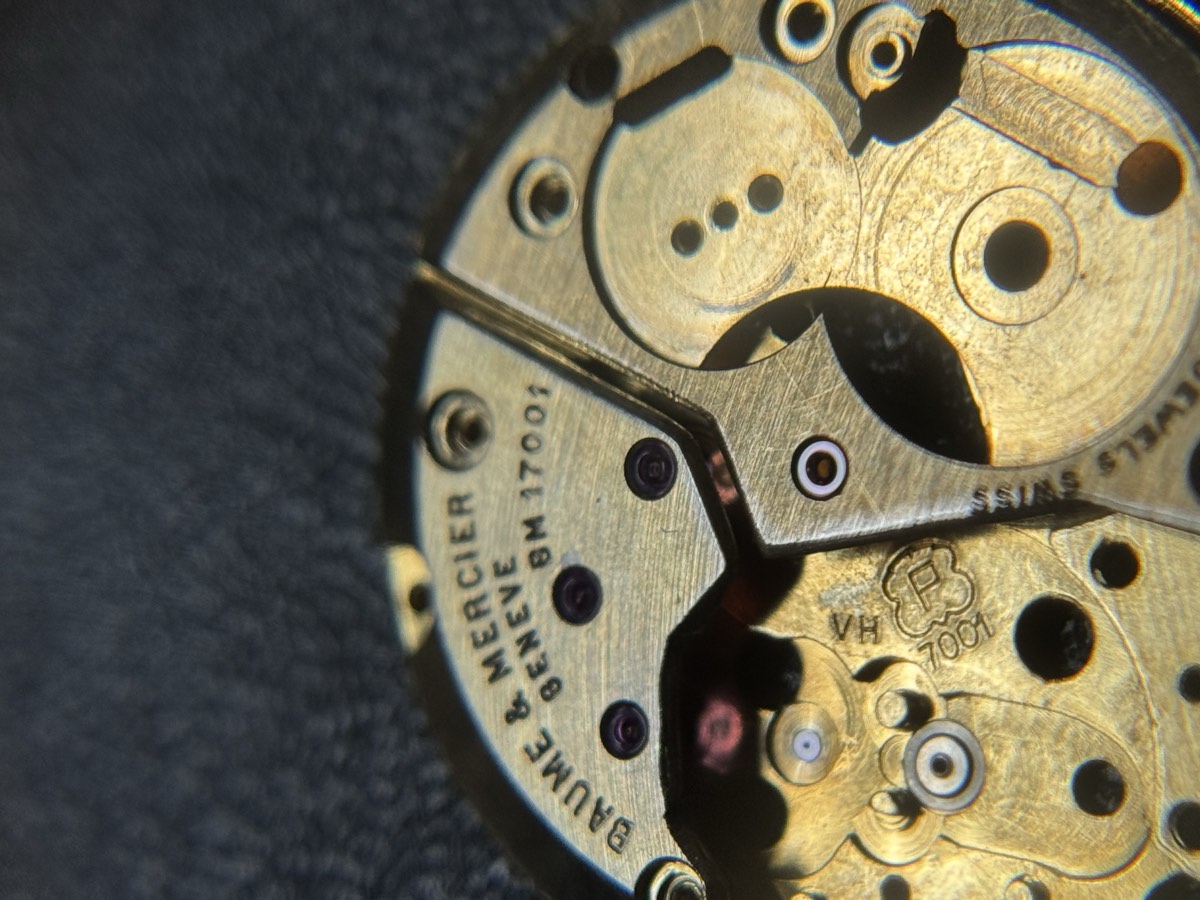
Baume & Mercier BM 17001 (ETA 7001): bevelled bridges.
7001: reshaping the bridges
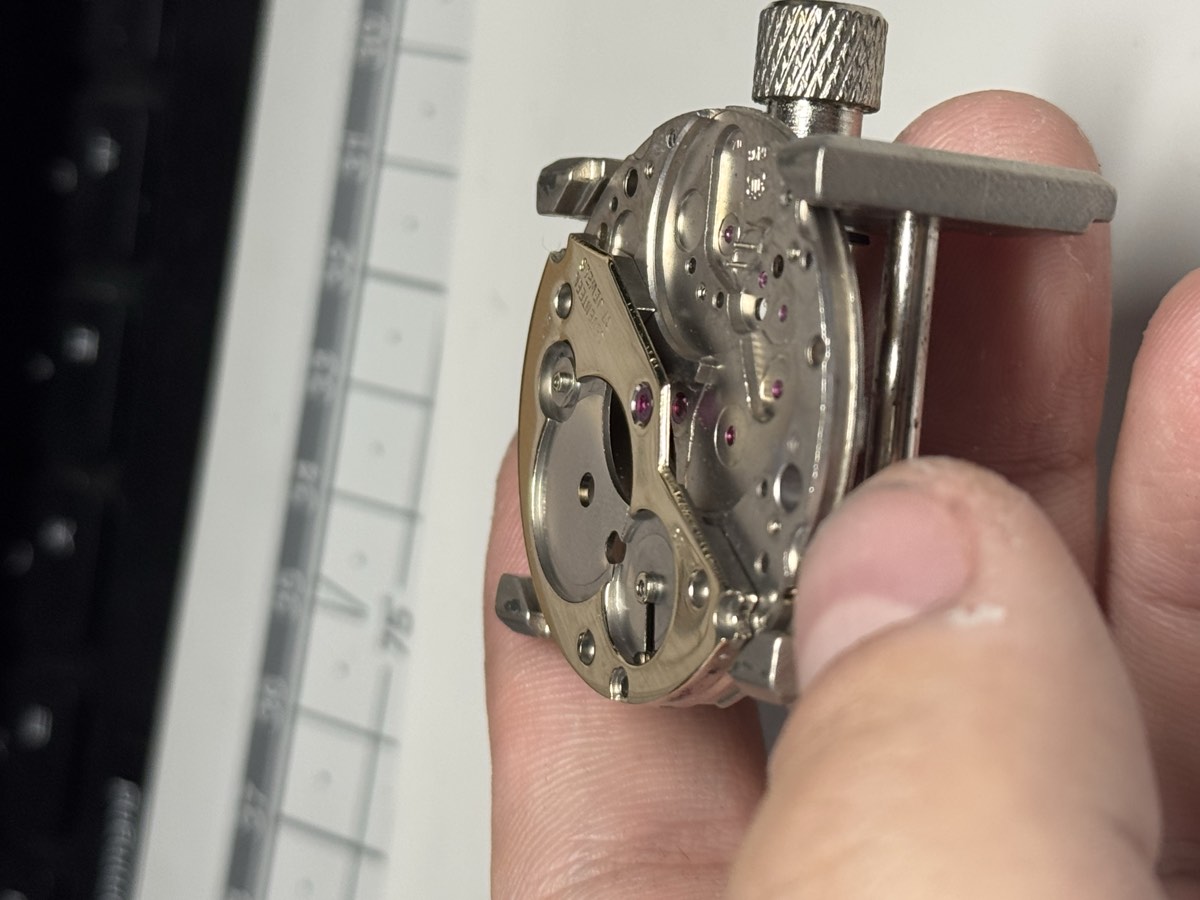
After practising some hand bevelling, I got the idea of reshaping the bridges to match my watch's design philosophy. The stock 7001 has a more brutalist design, full of hard angles. I wanted to turn that energy into something more fluid and organic, with curves that echo the lugs of my case.
I have to be honest: I think I took off a bit too much in places. The reshaped bridges haven't been tested in a running movement yet, so whether they work as well as they look is still an open question.
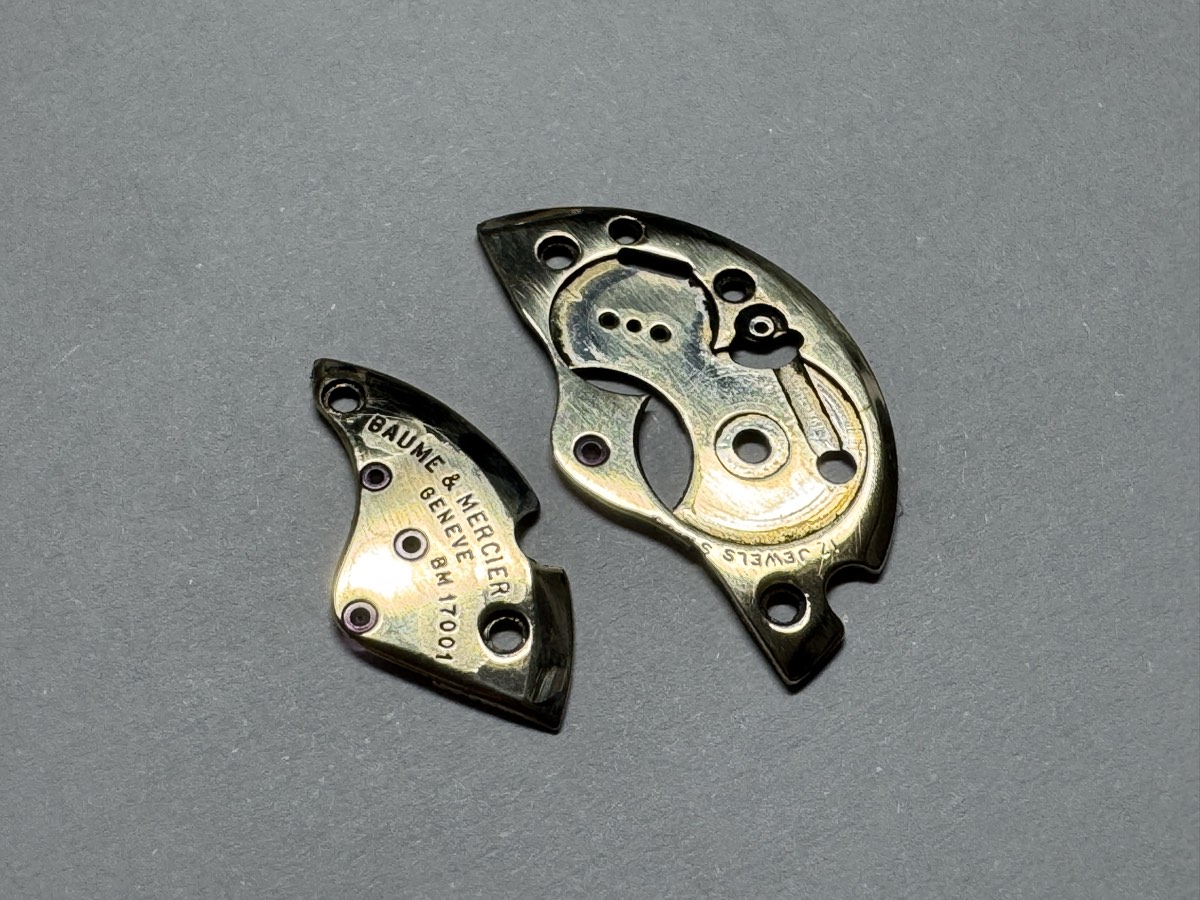
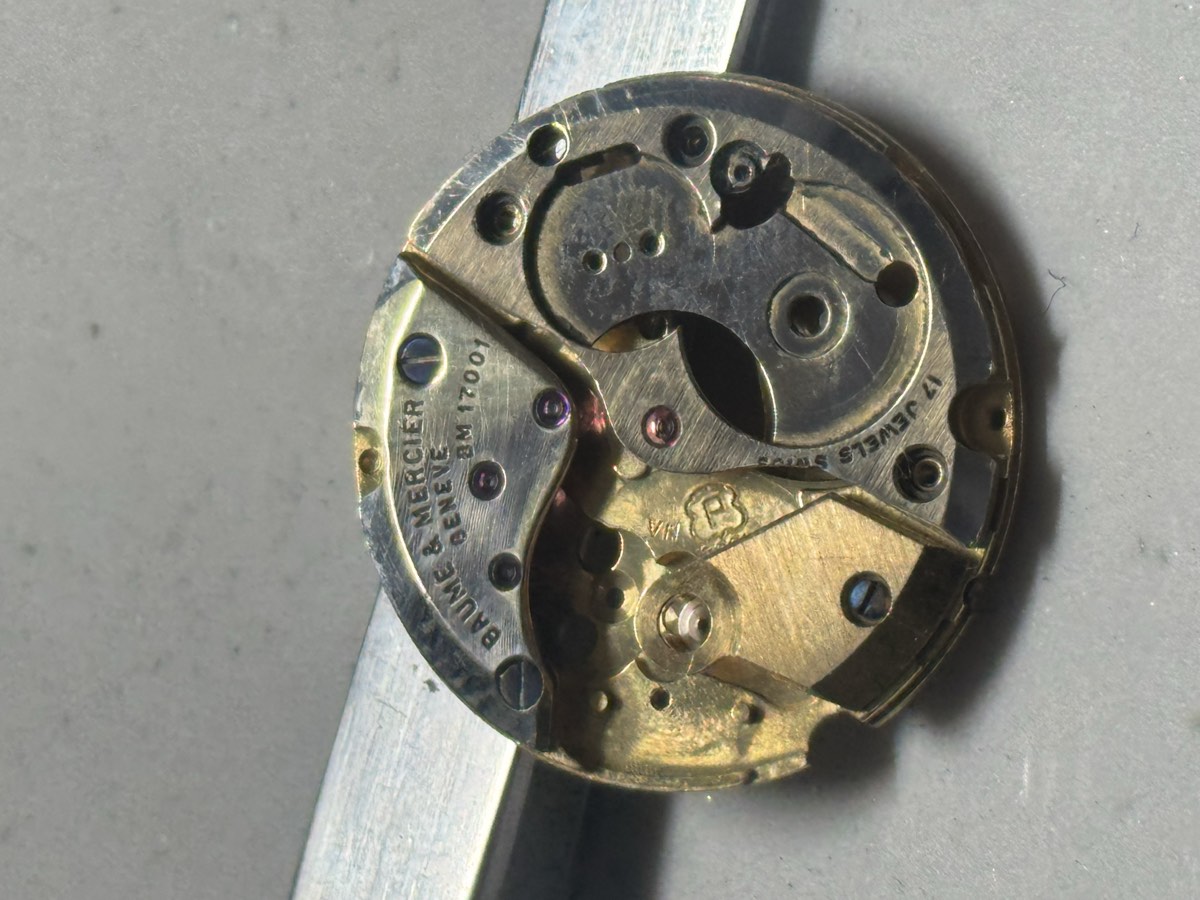
The reshaped bridges, off and on the movement.
Blued screws
A quick preview for a future article: I've also started practising heat-blueing screws. My first two attempts came out more purple than blue, and the colour isn't even yet. There's a lot more to say about it, so it gets its own post.
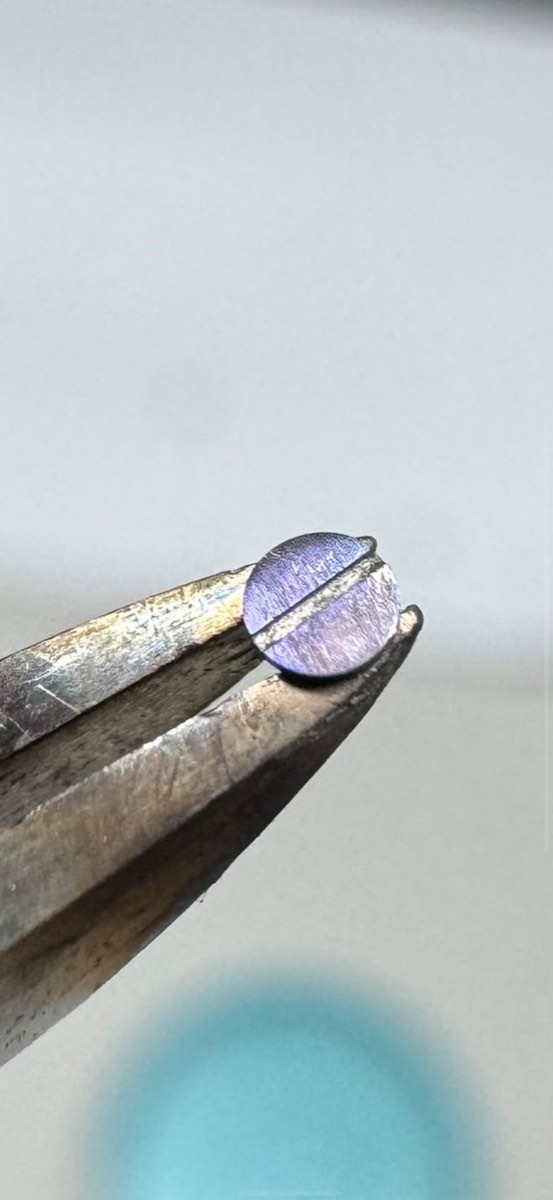
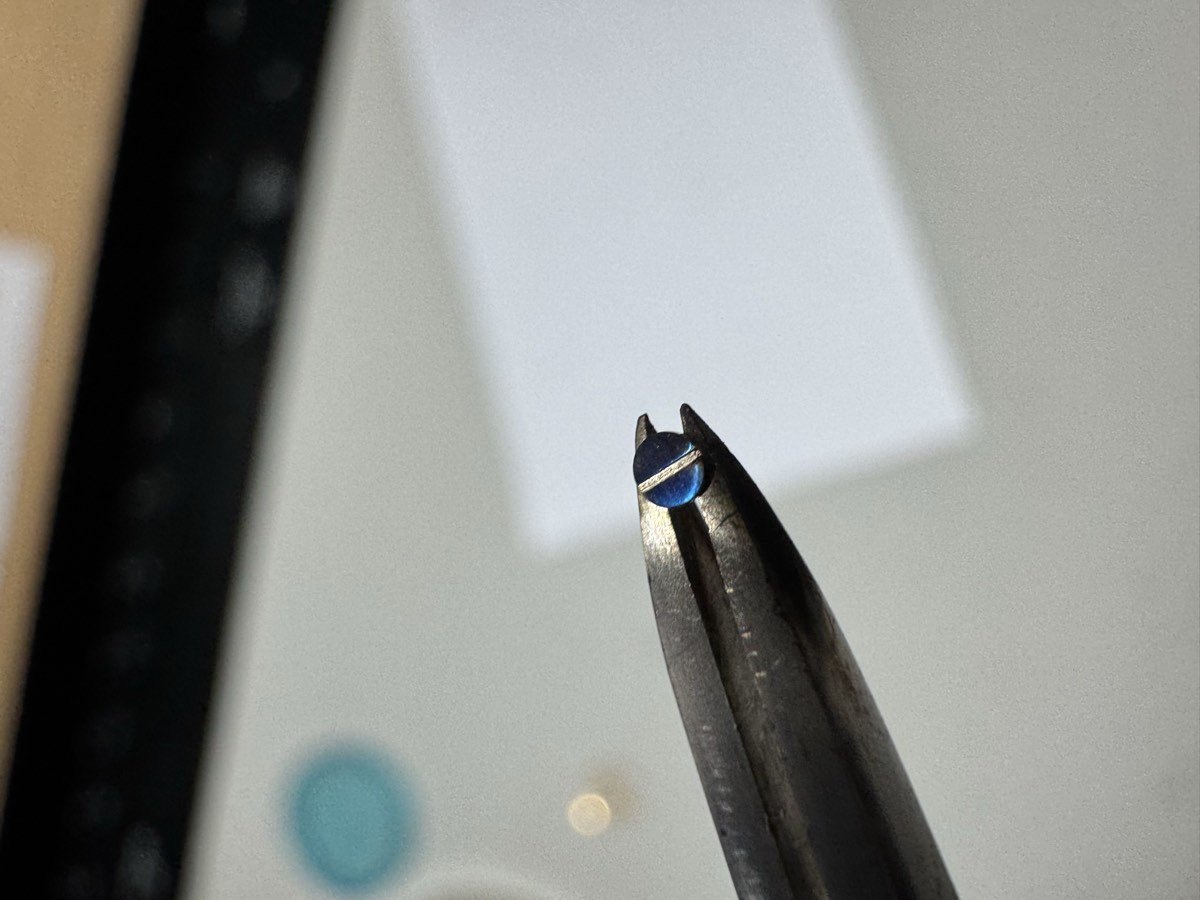
Blued screws: attempts 1 and 2.
What I learned
This session took my understanding of the finishing side of watchmaking to a further level. It's different from my usual servicing work, like a full overhaul: here I got to learn the finishing side of watchmaking in person, with my own hands.
- Go slow. Material comes off fast and doesn't come back.
- Verify every step. Check under the loupe after every few strokes, not at the end.
- The angle is everything. Holding the file and the pegwood at a steady angle is what keeps a bevel even.
- Joined edges and inside corners are the real test. The straight lines are the easy part.
- Hold the work properly. Most of my uneven edges came from the piece shifting, not from the file.
Tools and materials
- Flat jeweller's file
- Pegwood
- Diamond paste: 30, 15, 10, 5 and 3 micron
- Loupes: 5x for work, 15x for inspection
- Bergeon Rodico and a pin vice for holding the parts (shellac next time)
What's next
Next, I'll test the reshaped bridges on a complete Hamilton 7001 donor to see whether they run as well as they look. After that comes cleaning up the bevels, re-gilding the bridges, more screw-blueing practice, and eventually a custom three-quarter plate for the 7001 in R. Aevum N° 01.